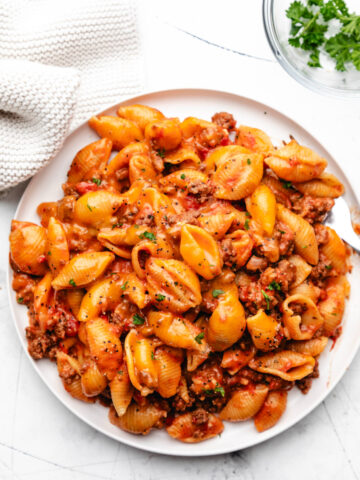
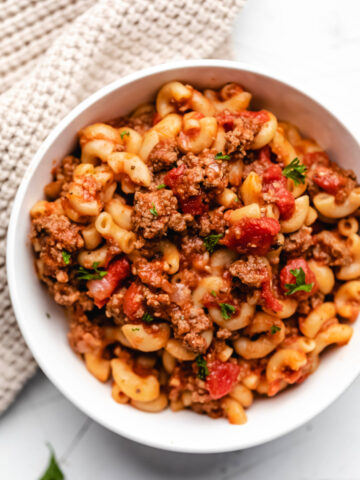
Easy Instant Pot Cheeseburger Macaroni! This quick recipe takes just a few ingredients and about 20 minutes to make a delicious weeknight dinner.
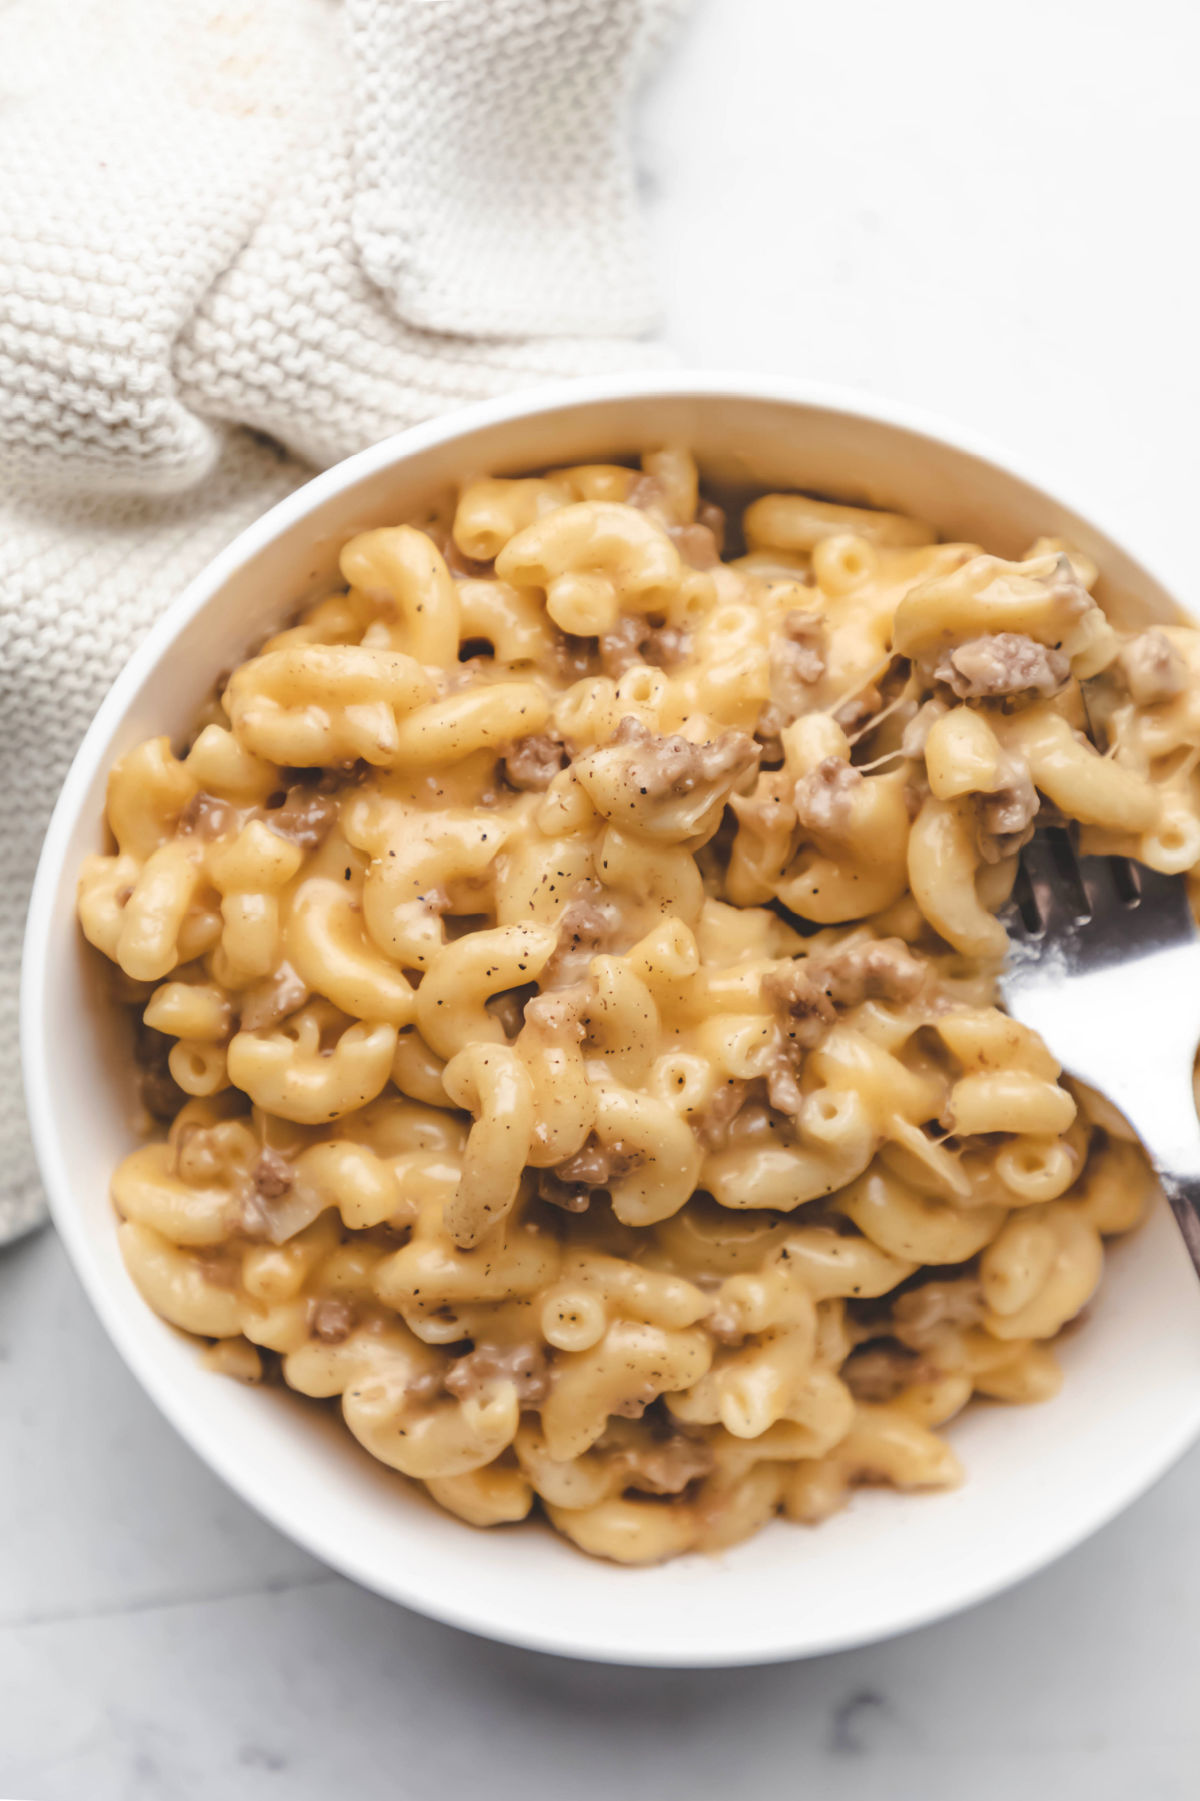
Macaroni and cheese is one of my family’s favorite dinners. And it’s so quick and easy to make, especially in the Instant Pot!
This Instant Pot Cheeseburger Macaroni is a delicious twist on the usual. It’s made entirely in the inner pot, and it only takes about 20 minutes to make, which makes it a great weeknight dinner choice.
How to make Instant Pot cheeseburger macaroni
Step 1: Press sauté.
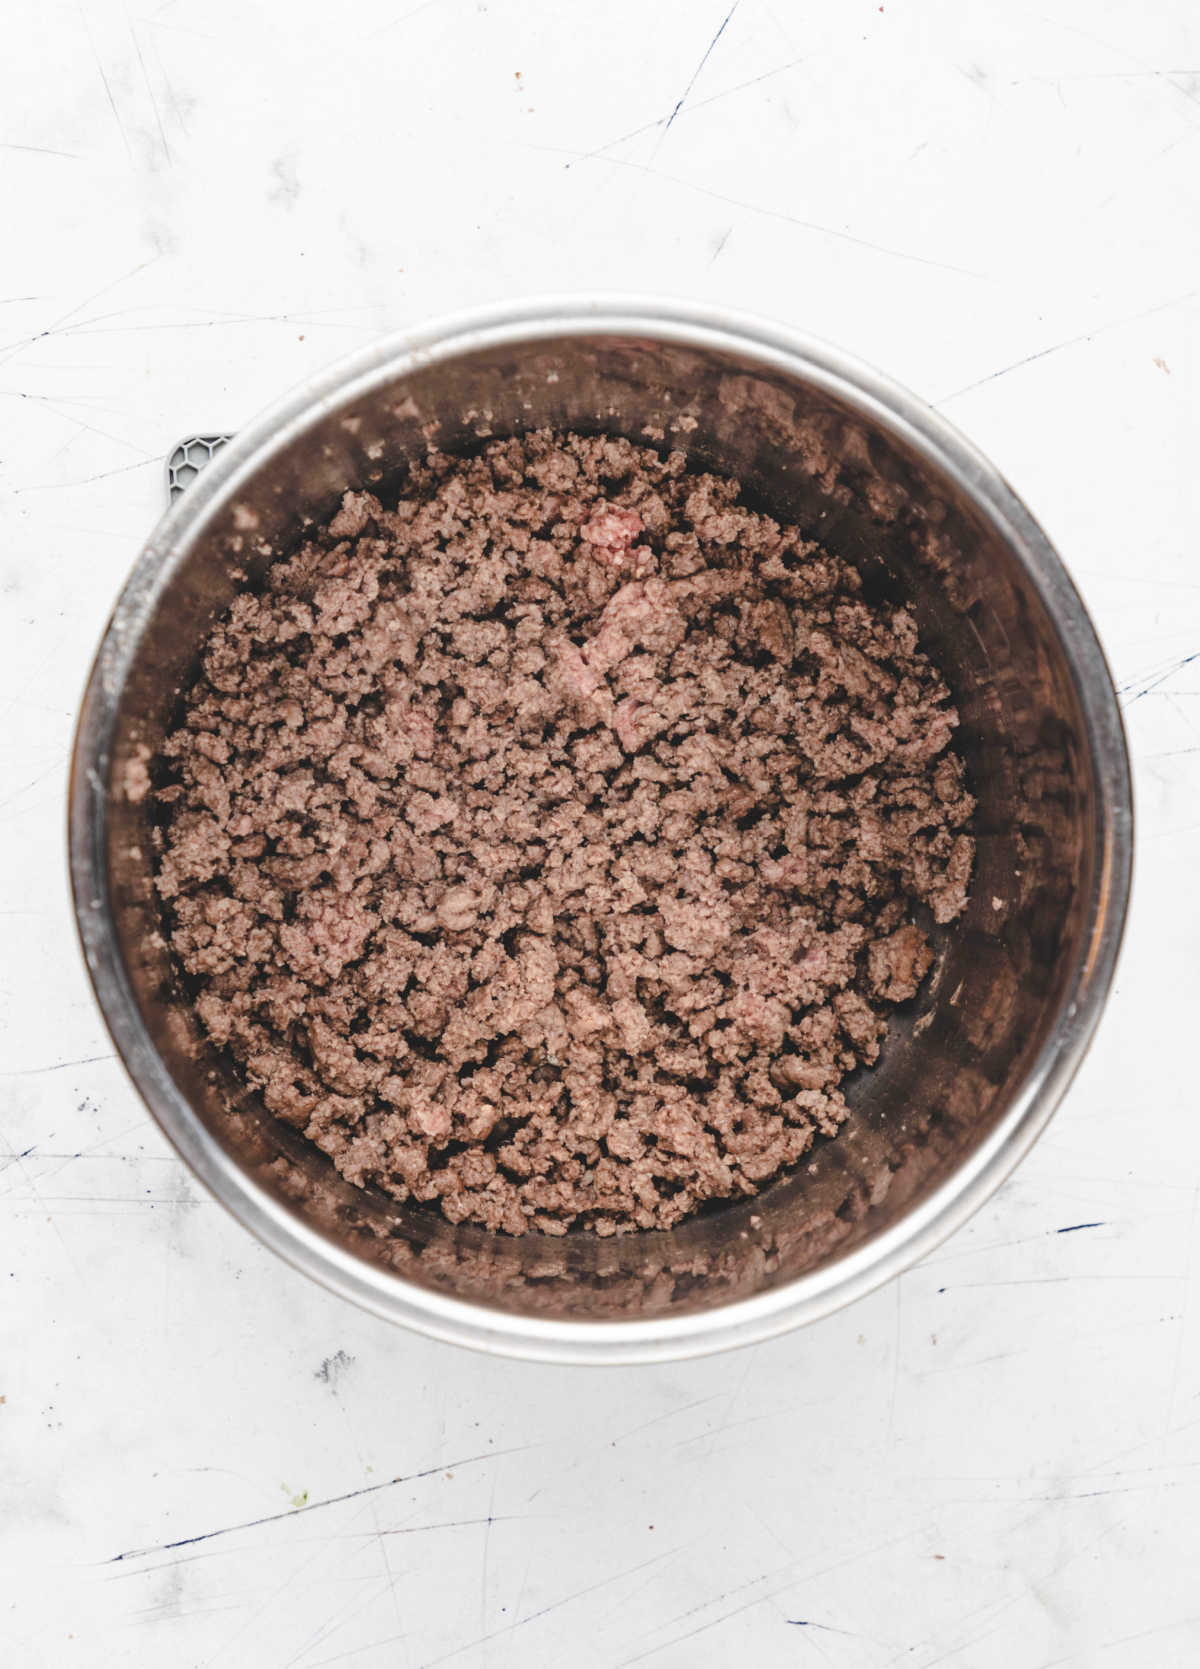
Step 2: When hot, add ground beef and cook, stirring regularly, until cooked through. You want it to keep moving so that it cooks but doesn’t brown and stick to the bottom of the inner pot.
Step 3: Drain the fat and return to inner pot.
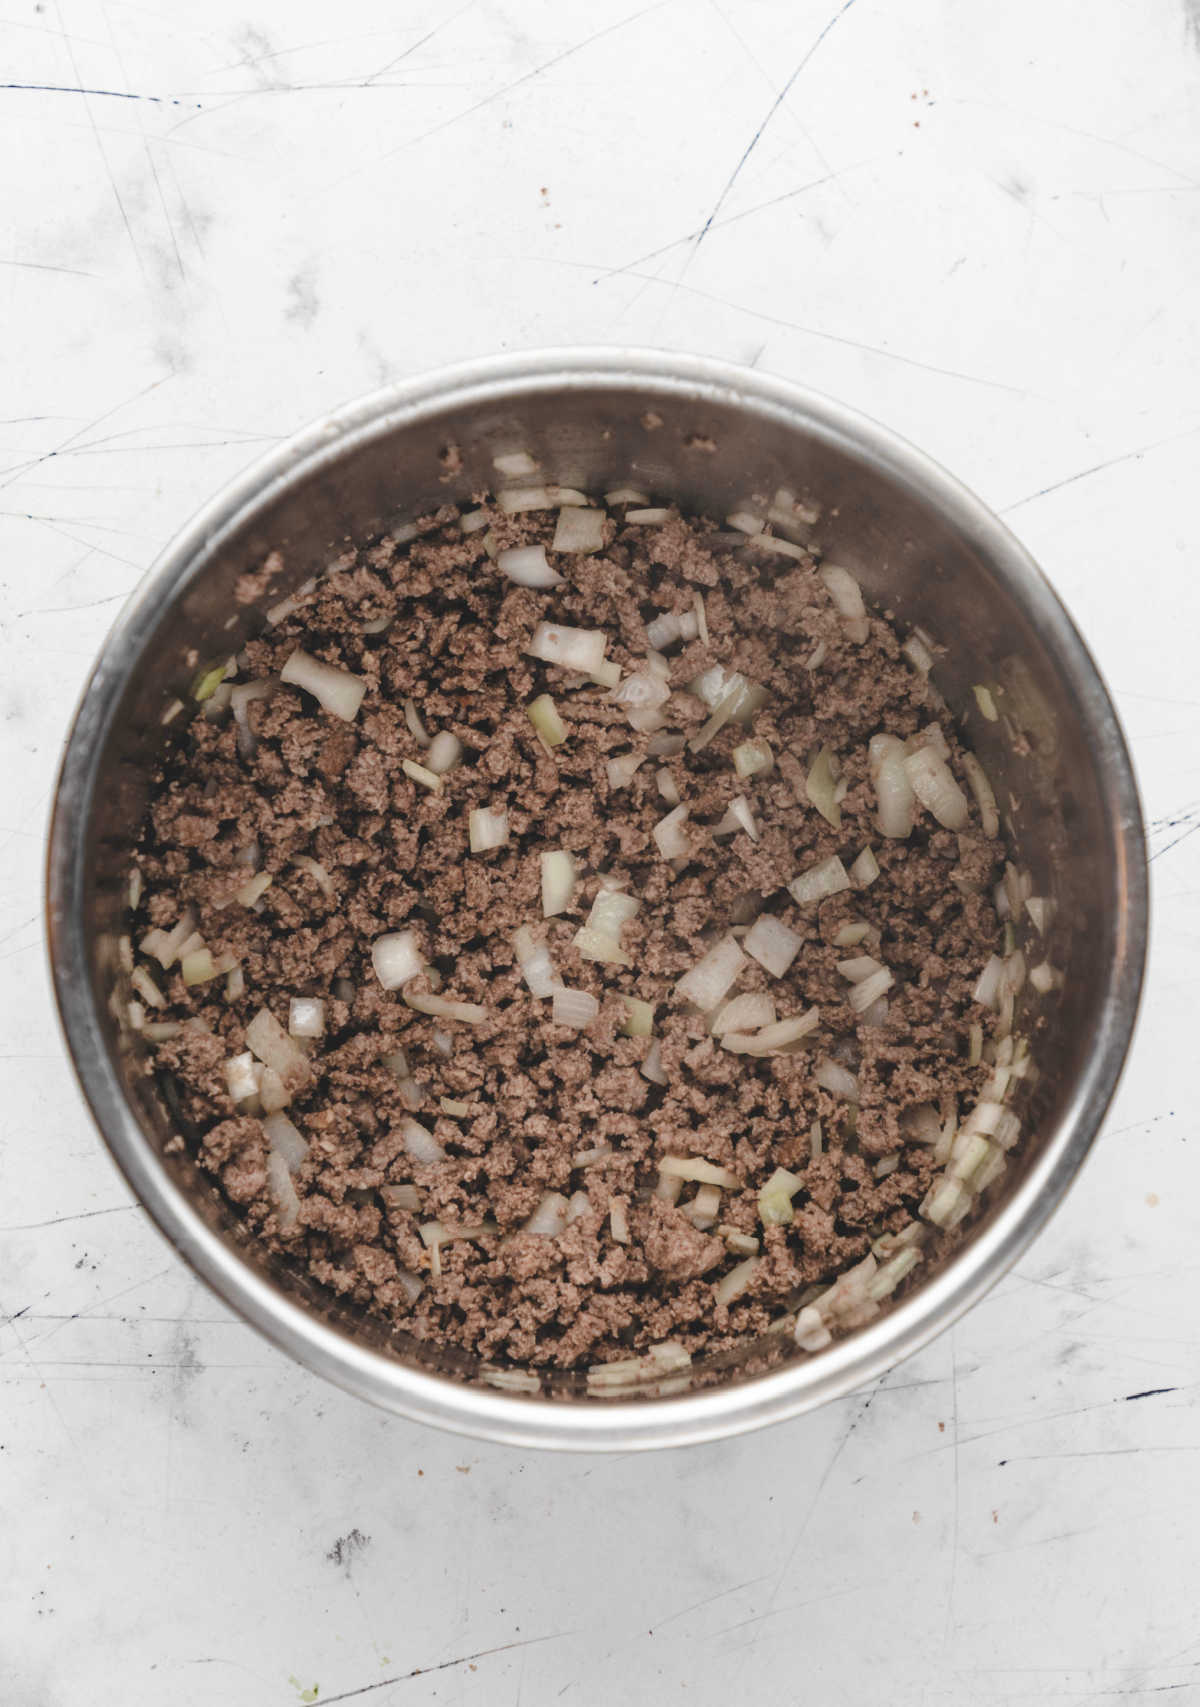
Step 4: Stir in onion. Cook, stirring regularly, until onion has softened, about 2 minutes.
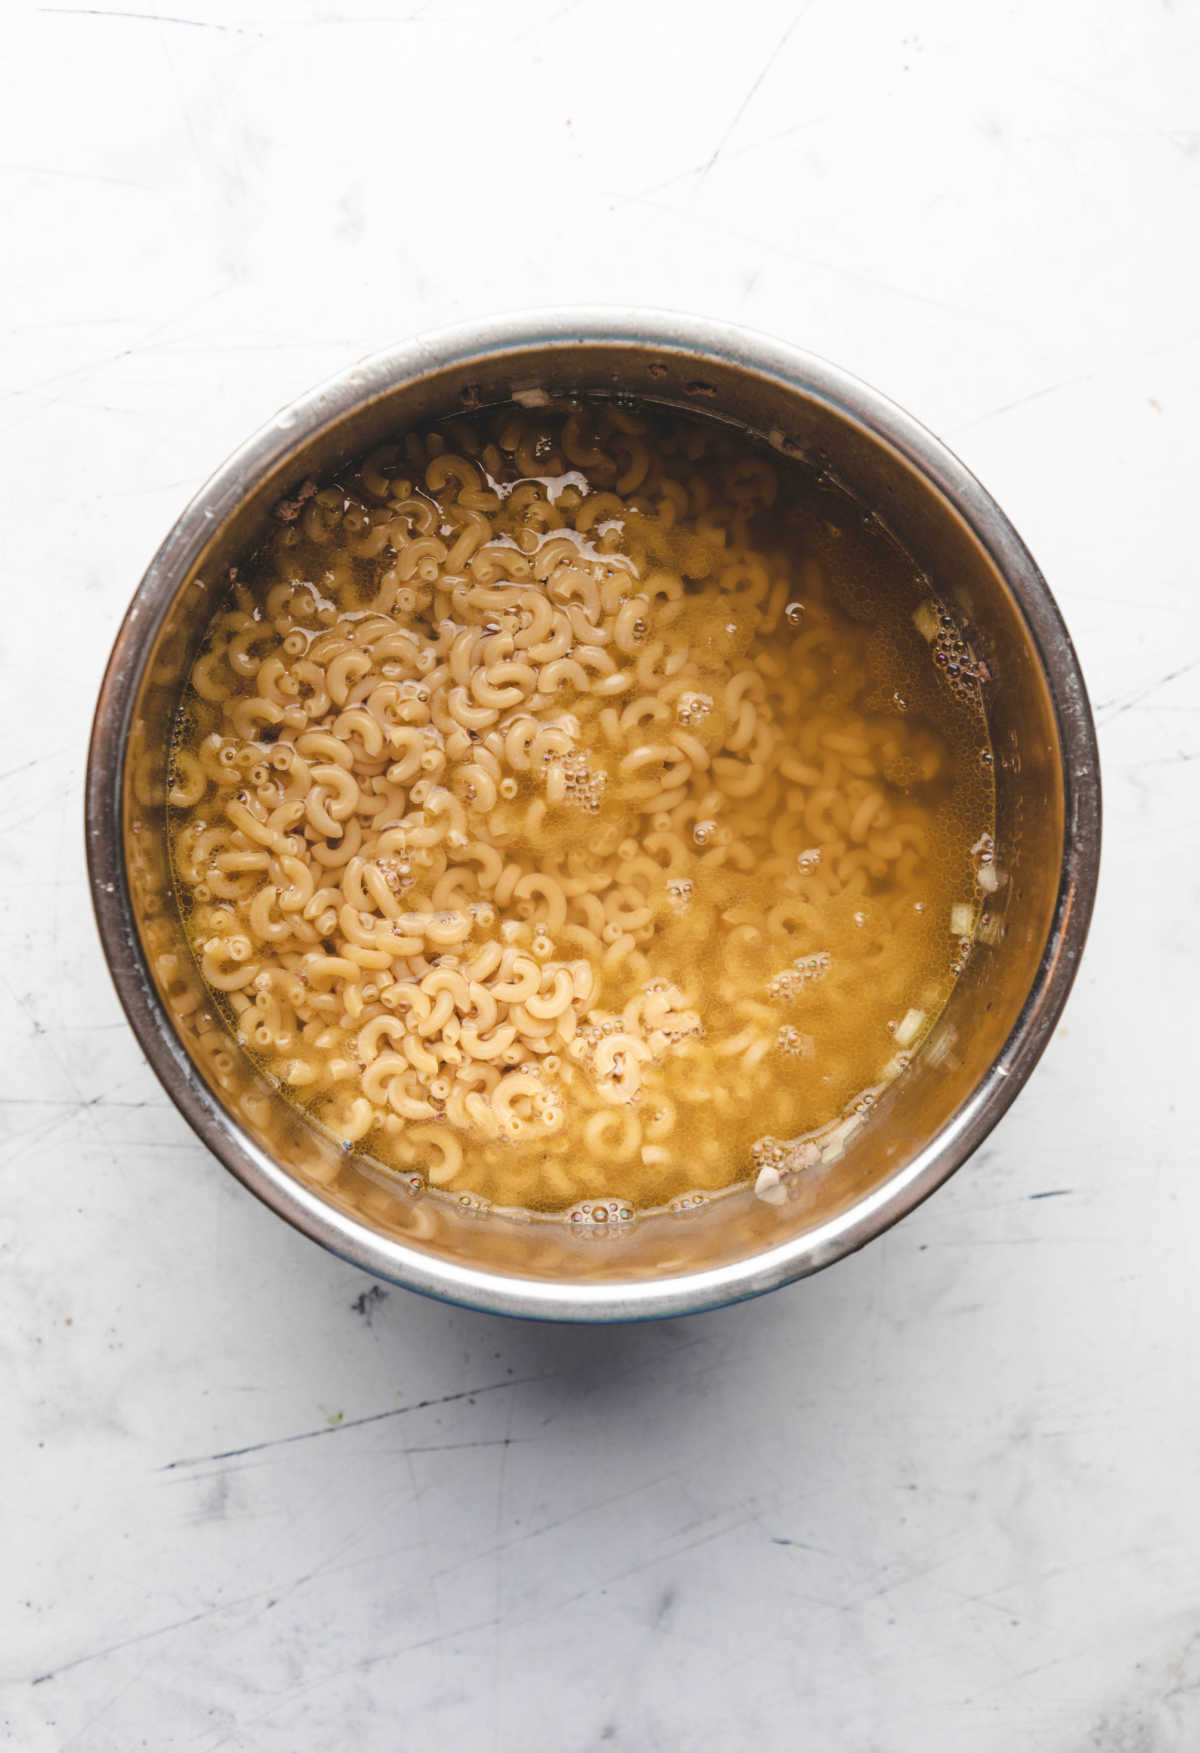
Step 5: Add the pasta and the chicken broth.
Step 6: Close and lock the lid. Press manual high pressure and adjust the cooking time to 3 minutes. Make sure that the pressure release valve is set to sealing.
Step 7: When the cooking time has finished, turn the pressure release valve to venting.

Step 8: Stir in the cheese until melted and combined.
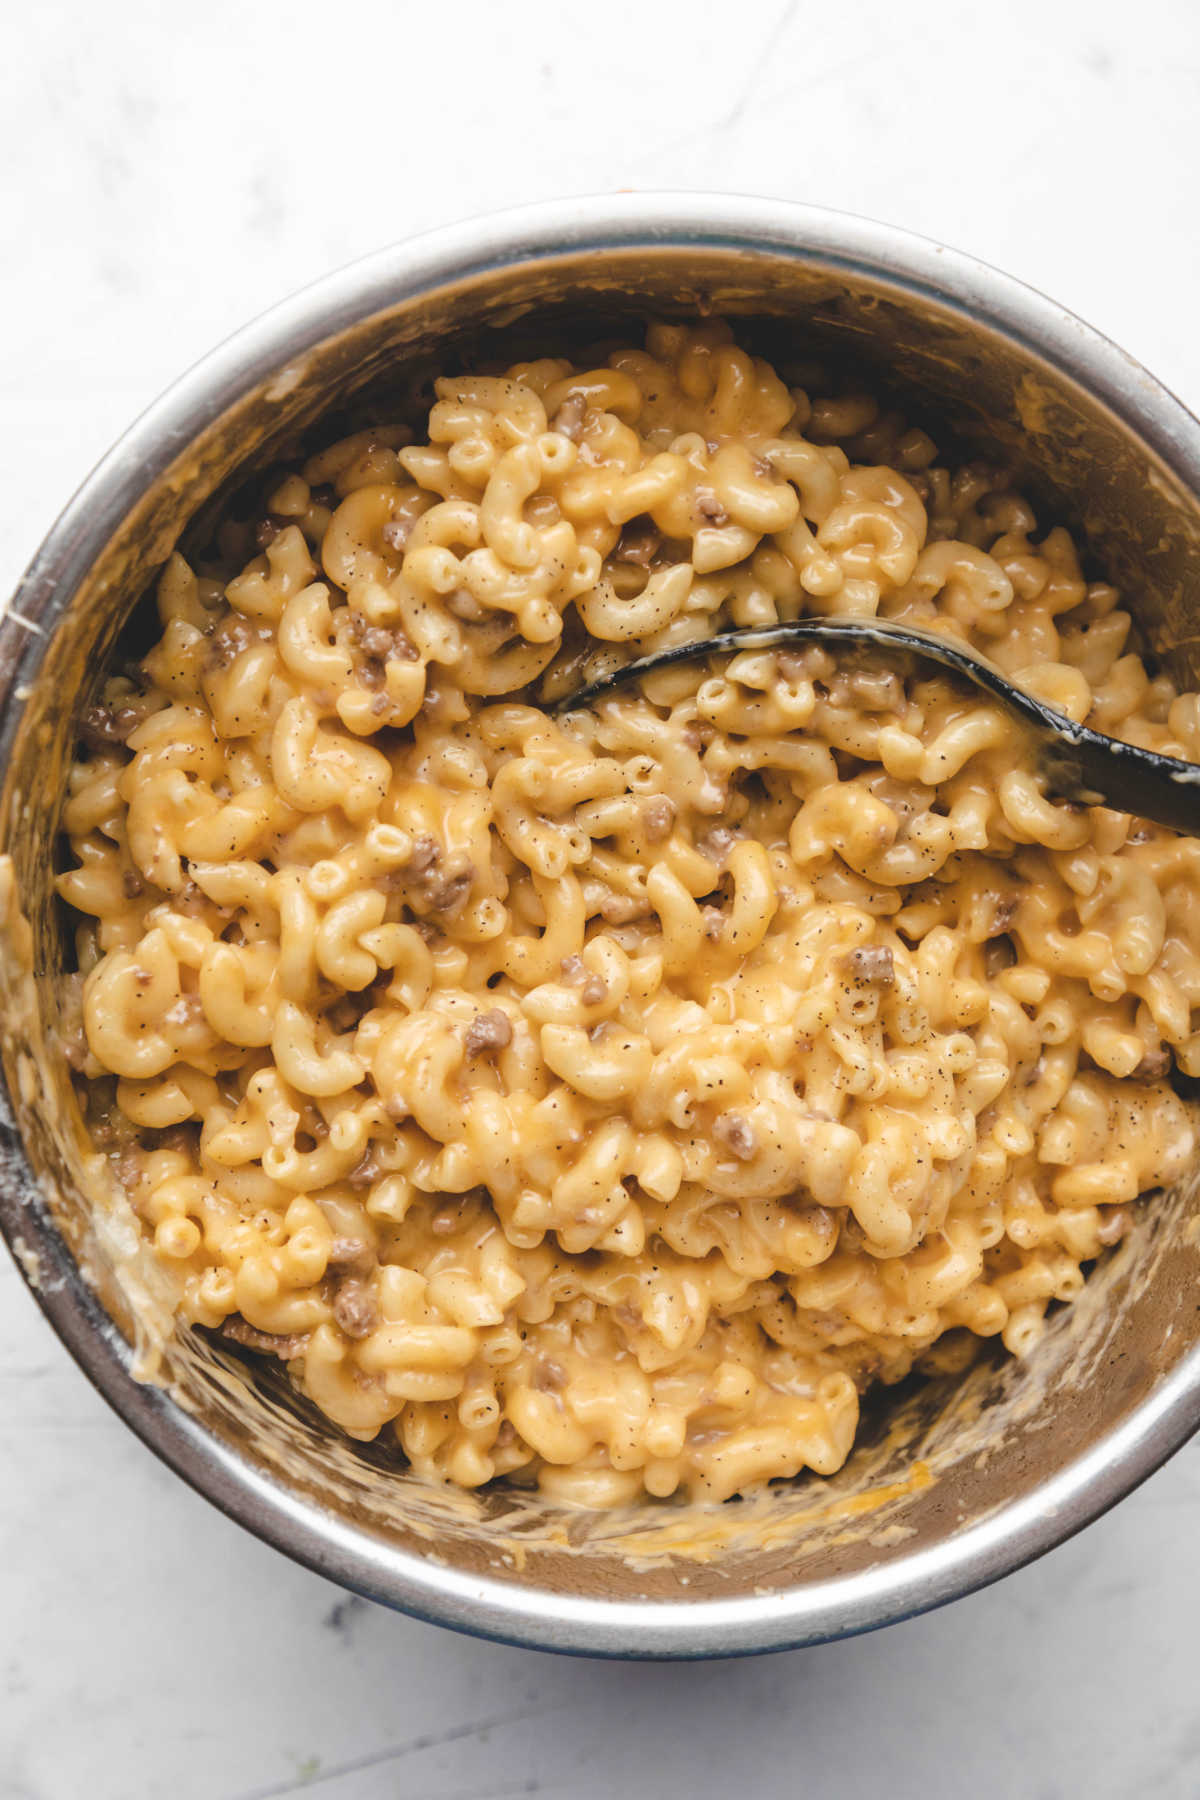
Step 9: Stir in enough milk to make it creamy.
Step 10: Add the salt and pepper and season to taste.
Tips
- Ground beef: I like to use 85% lean ground beef. You can use leaner (or less lean) ground beef, if you prefer.
- Pasta: I usually use cavatappi pasta. I’ve found that it holds us well to pressure cooking. I’ve also used large elbow macaroni. If you use a smaller noodle, you may find that you need to adjust the cooking time.
- Cheese: Normally, I’m not a fan of using packaged shredded cheese in macaroni and cheese. In my stovetop mac and cheese recipe, I recommend using blocks of cheese. However, store-bought shredded cheese works well in this recipe.
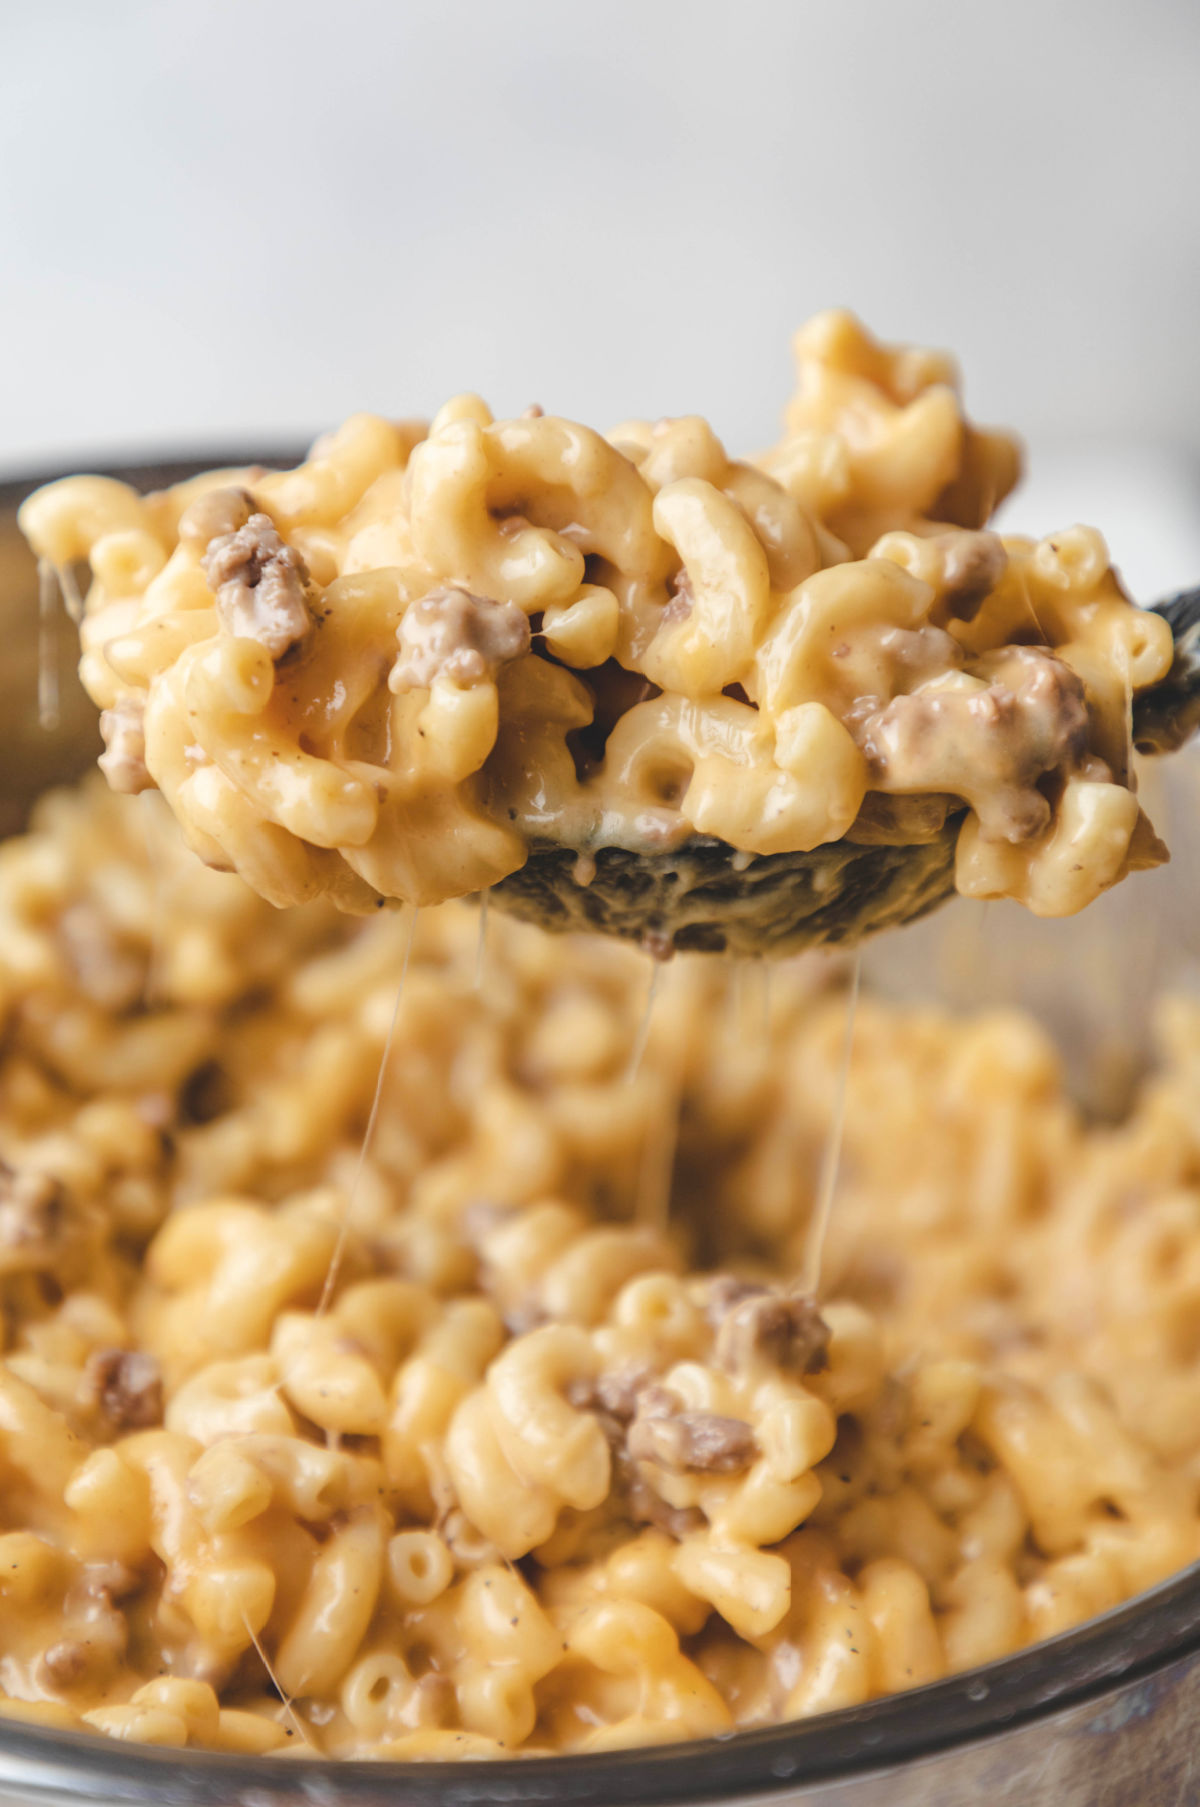
- Types of cheese: You can vary the cheese to change the flavor. Sharp cheddar will give you a stronger flavor. Mild cheddar a milder flavor. Monterrey Jack and cheddar will give you a nice ooey gooey mac and cheese. We also like triple cheddar cheese blends in this recipe.
Sometimes I even thrown in some shredded parmesan cheese for a little more bite.
Storage
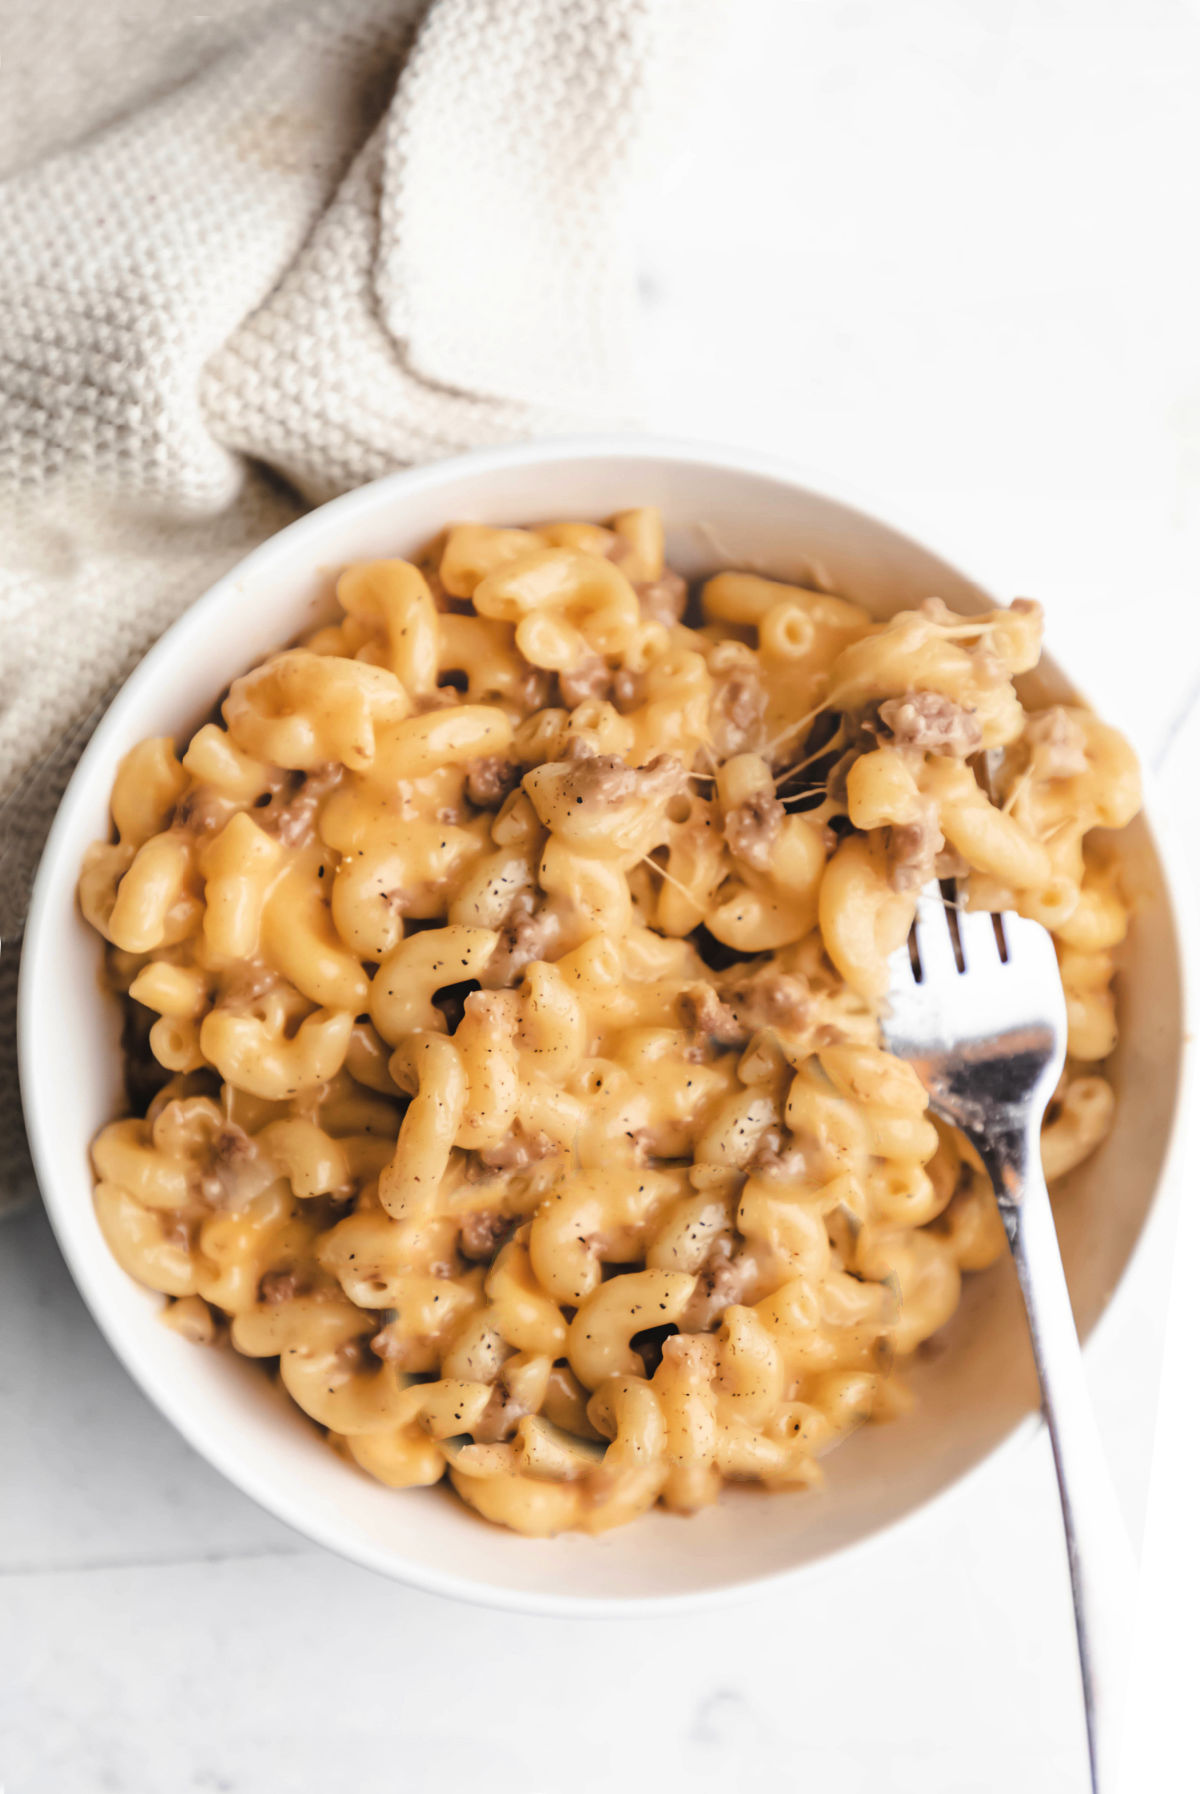
Store any leftover cheeseburger mac in an airtight container in the refrigerator. It will keep for up to 4 days when properly stored.
More Instant Pot ground beef recipes!
If you’ve tried this Instant Pot Cheeseburger Macaroni recipe, don’t forget to rate the recipe and leave me a comment below. I love to hear from people who’ve made my recipes!
You can follow me on Pinterest or Facebook even more delicious food.
Instant Pot Cheeseburger Macaroni
Equipment
- Instant Pot/Pressure Cooker
Ingredients
- 1 pound 85% lean ground beef
- 1 cup diced white or yellow onion
- 16 ounces elbow macaroni
- 4 cups reduced-sodium chicken broth
- 8 ounces shredded Monterrey Jack cheese2
- 8 ounces shredded Cheddar Cheese
- ½ - 1 ½ cups milk
- Salt and pepper
Instructions
- Press sauté.
- When hot, add ground beef and cook, stirring regularly, until cooked through. You want it to keep moving so that it cooks but doesn't brown and stick to the bottom of the inner pot.
- Drain the fat and return to inner pot.
- Stir in onion.
- Cook, stirring regularly, until onion has softened, about 2 minutes.
- Add the pasta to the inner pot and pour the chicken broth over the top.
- Put the lid on and lock it in place.
- Move the pressure release valve to sealing.
- Press manual high pressure and adjust the time to 3 minutes.
- When the cooking time has finished, turn the pressure release valve to venting.
- Stir in the cheese until melted and well-combined.
- Stir in enough milk to make the macaroni creamy.
- Add the salt and pepper and season to taste.


















Bill
This was easy and it tasted good.
Kate
Thank you!