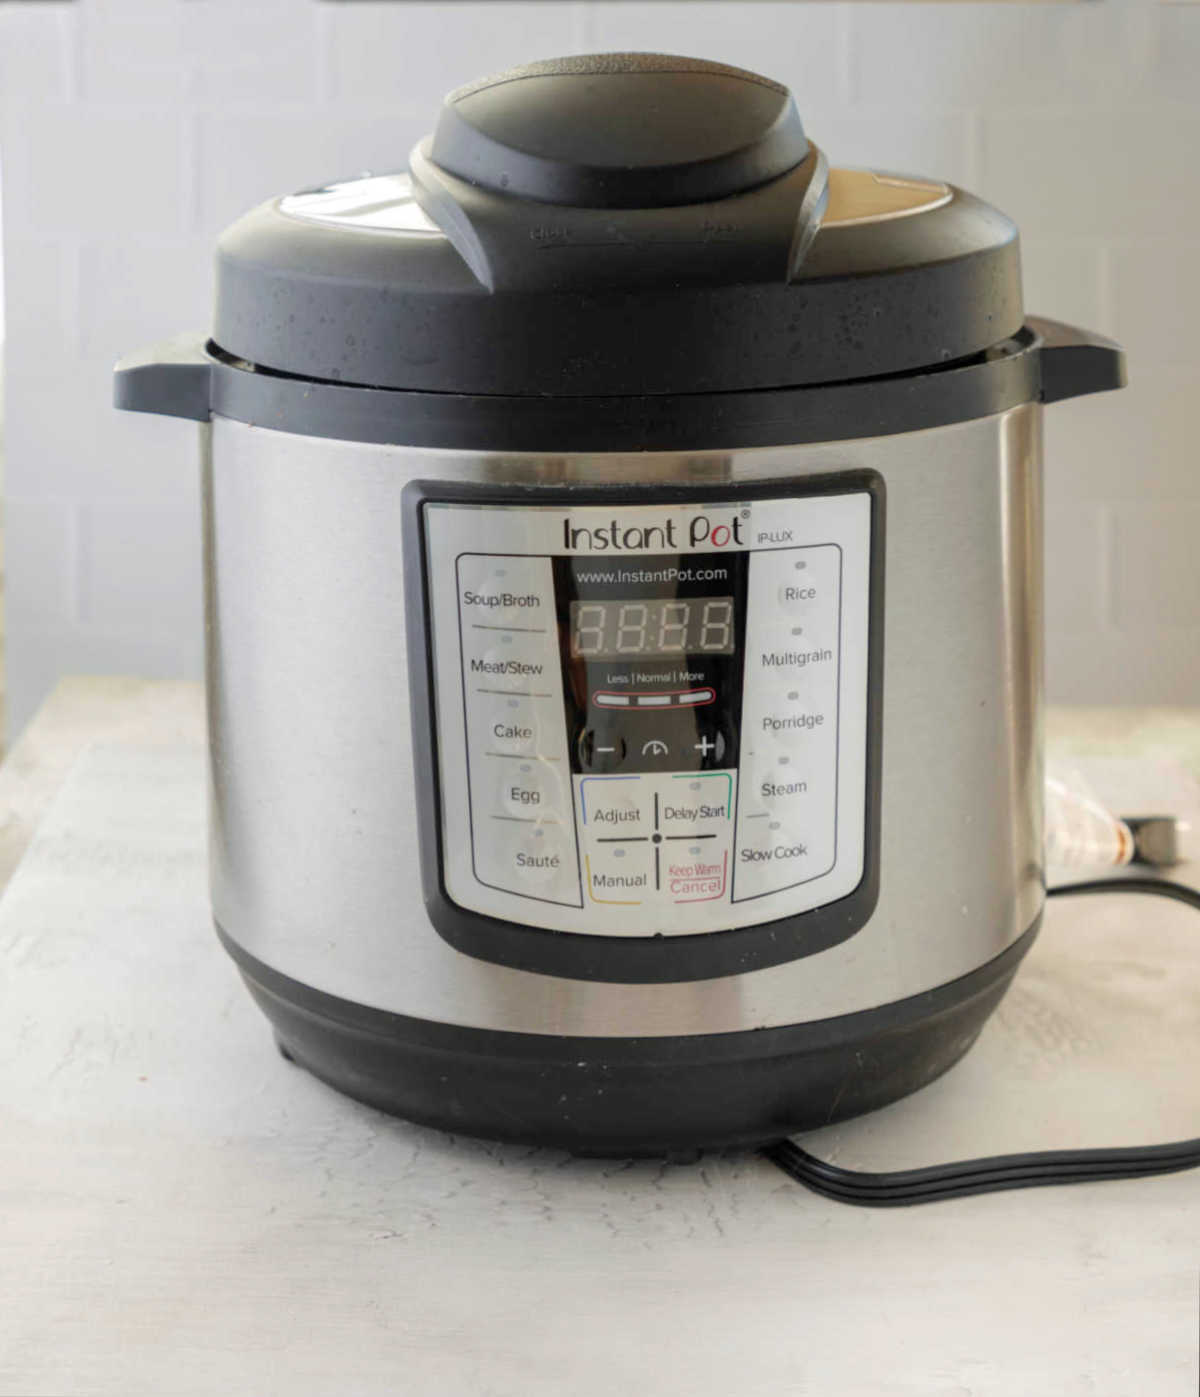
Learning how to use an Instant Pot isn’t difficult. In fact, it is incredibly easy! This guide will explain everything you need to know to start using your electric pressure cooker. Consider this Instant Pot 101 for beginners!
You may already know that the Instant Pot is an indispensable kitchen appliance. With an IP, you can create nearly any type of meal. From perfect rice in 10 minutes to transforming a tough cut of beef into a delicious, fork-tender roast in under an hour! You can even make desserts in an Instant Pot!
An Instant Pot works by locking in steam that cooks food under pressure. As a result, you can cook an entire meal in about a third of the time of traditional cooking methods. This handy guide will show you how to start.
THE BASICS OF HOW TO USE AN INSTANT POT
First, get to know the basic functions of your IP by performing what is known as “the water test.”
This just means putting some water into the pot, sealing the lid, and setting it to pressure cook for a few minutes. After the cook time, you’ll release the pressure and open the pot.
The water test is a great way to become comfortable with using your Instant Pot and the process of pressure cooking.
HOW TO USE AN INSTANT POT TO PERFORM A WATER TEST
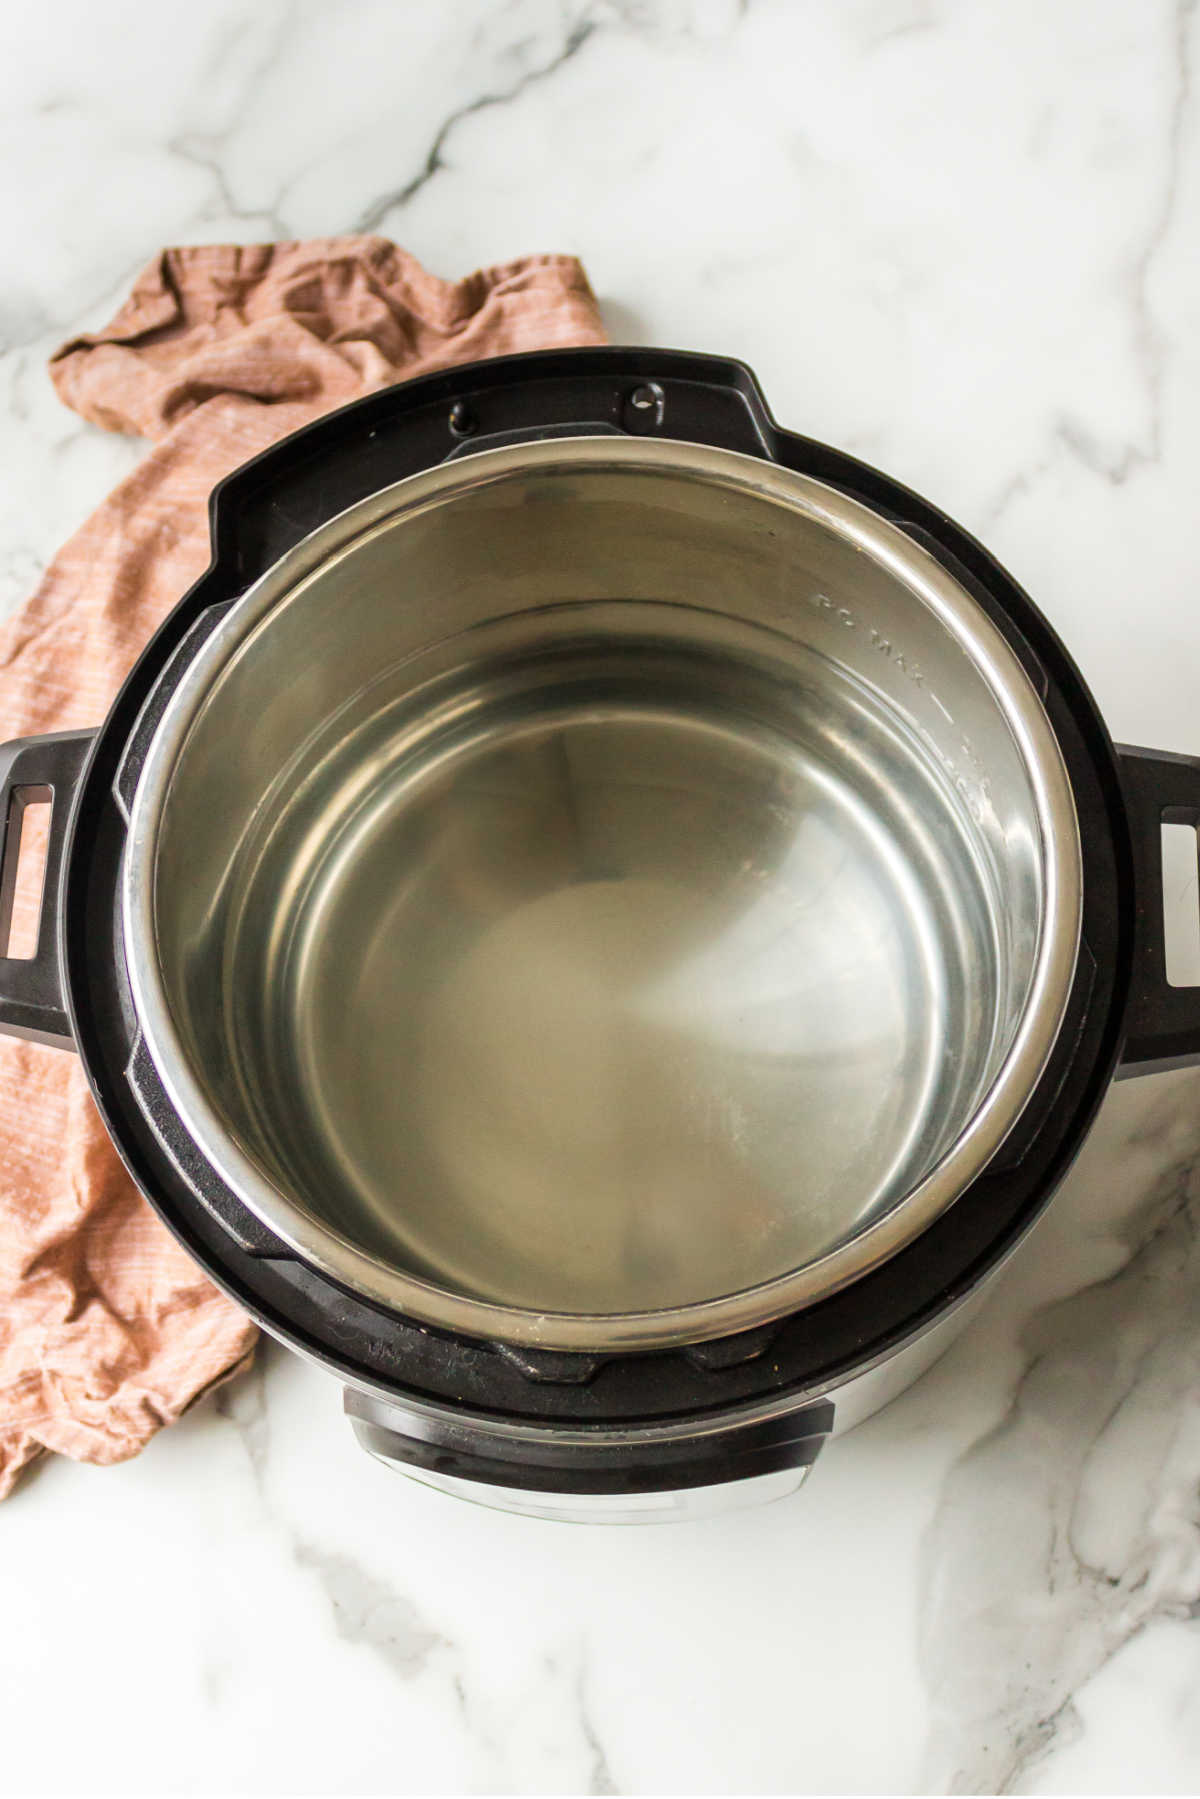
To perform a water test, plug in your Instant Pot and place the inner stainless steel pot inside the base. Check to be sure that the silicone sealing ring is secured inside the lid, and then follow these steps:
- Place 3 cups of water into the inner pot.
- Put the lid on the pot and lock it into place. You’ll hear a pleasant chime when the lid is secure and properly in place.
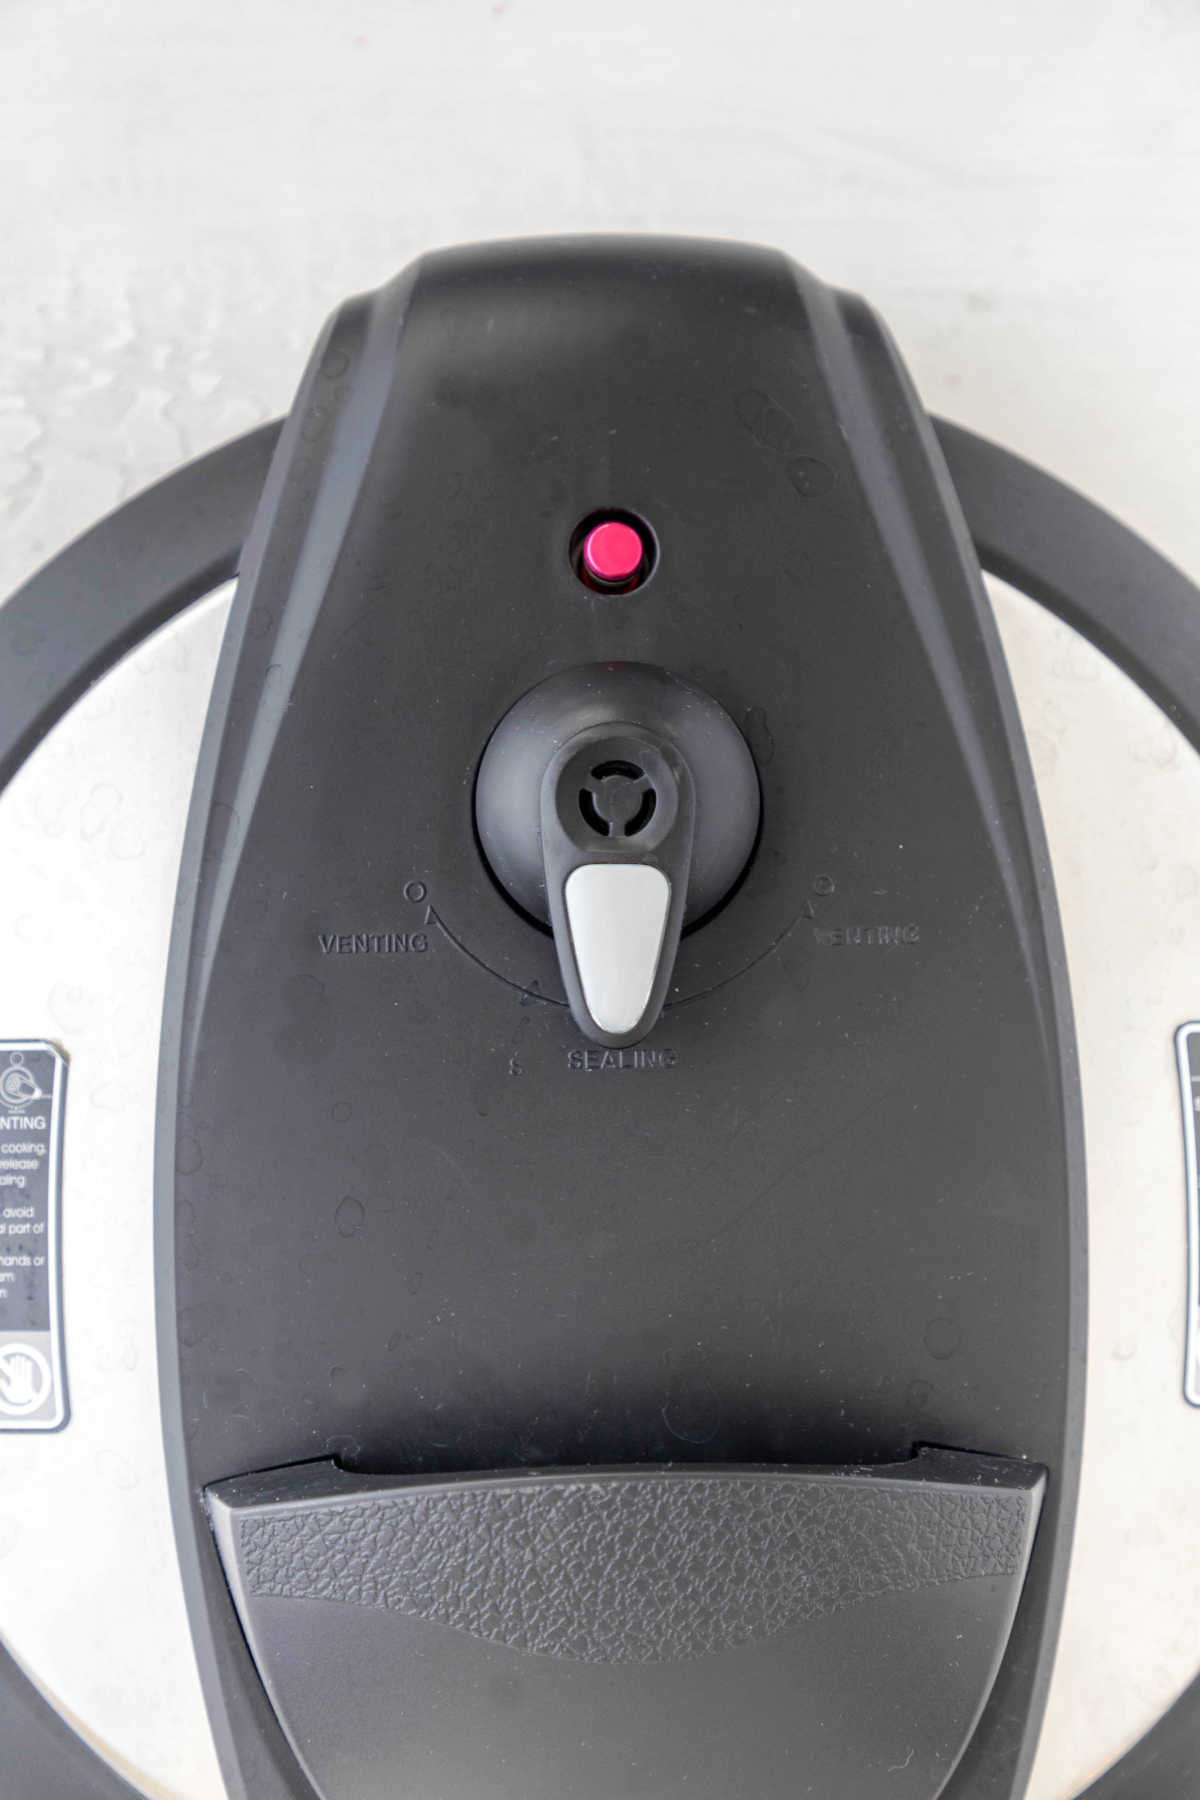
- Turn the steam release valve on the top until it points to “Sealing.” This closes the valve. As a result, steam will become trapped inside and pressure will build.
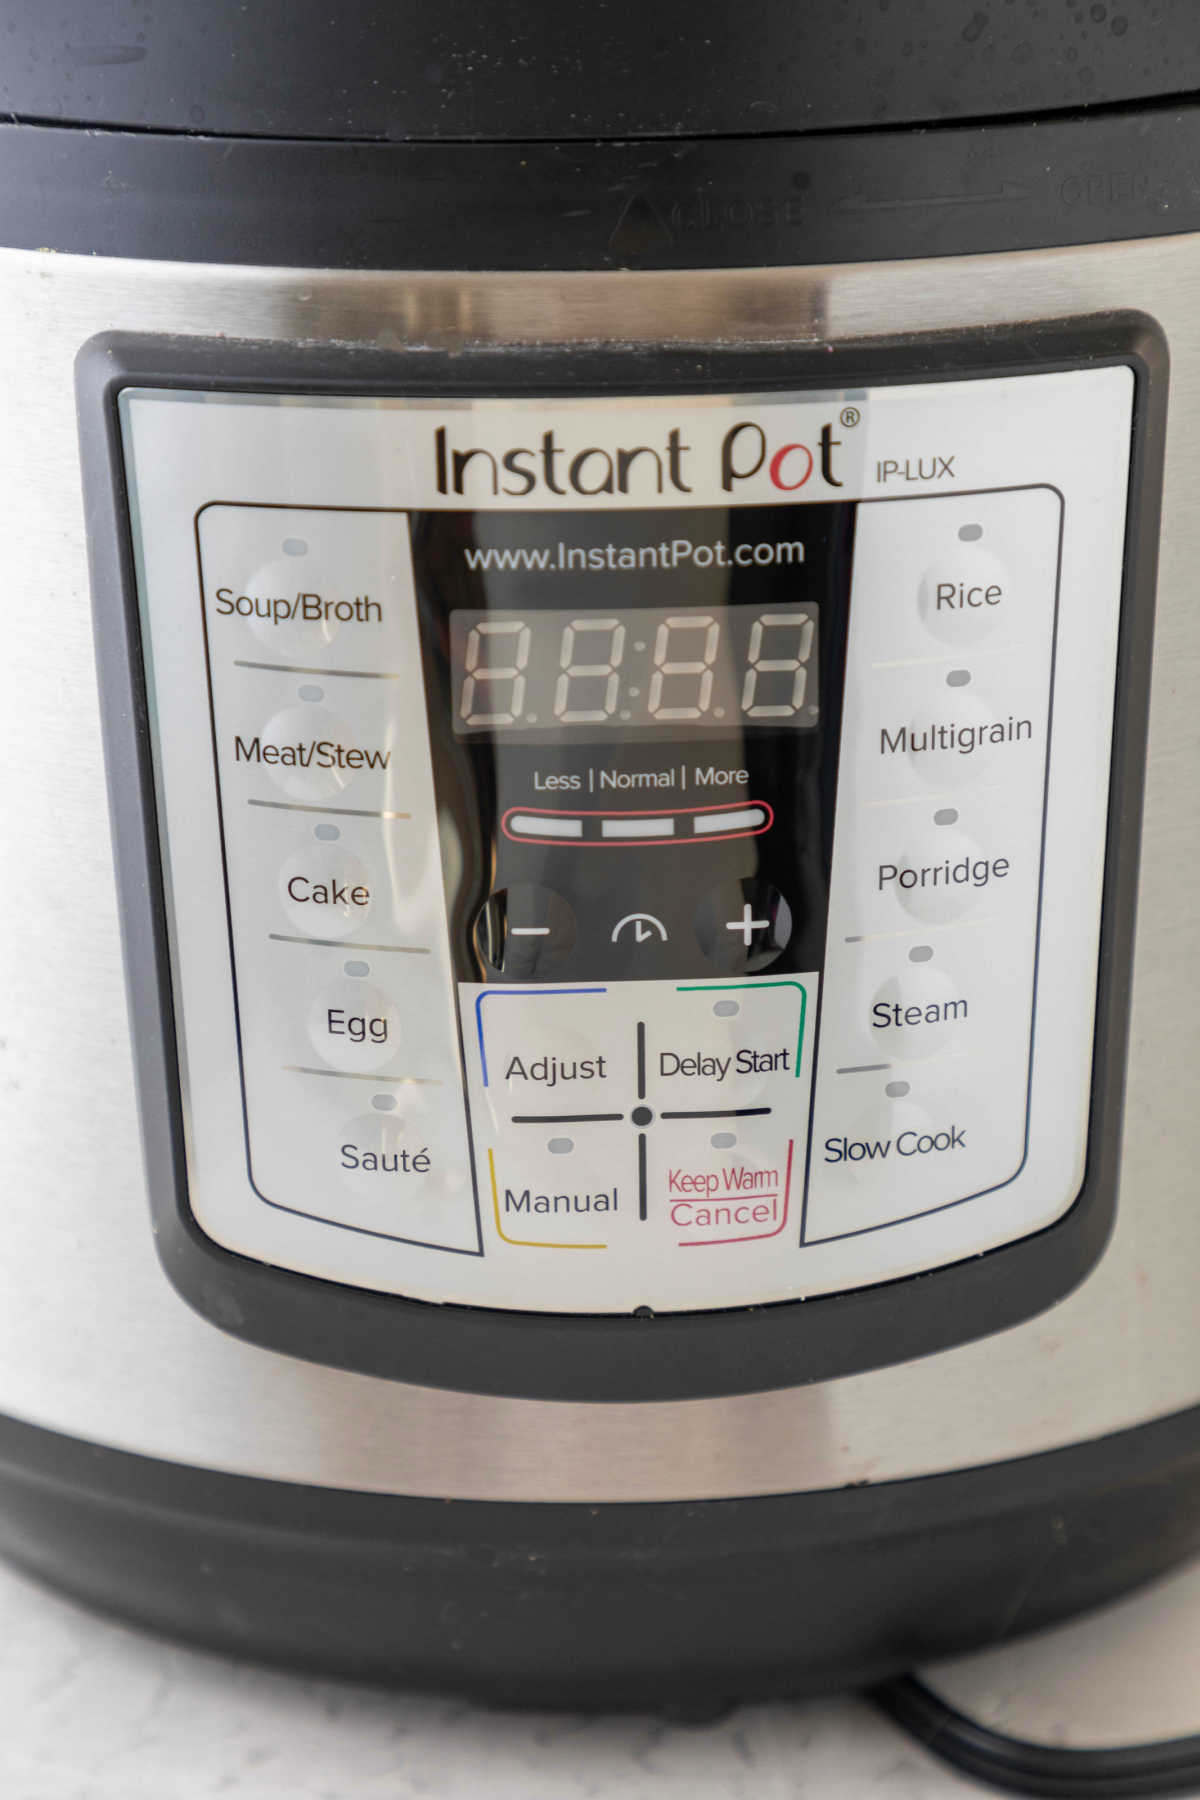
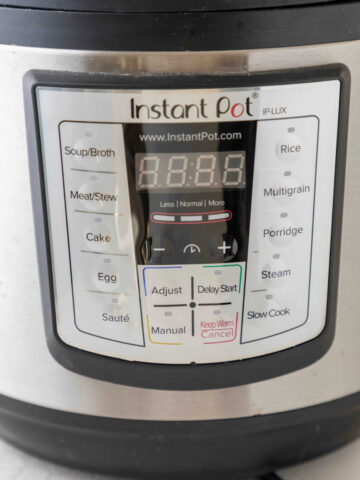
- Press the button marked “Manual” or “Pressure Cook” (this differs by model, but both refer to the pot’s pressure cooking function. On some models, pressing “pressure cook” a second time will switch it to high pressure).
- Use the + / – buttons or dial (differs by model) to set the cooking time to 5 minutes.
- After 10 seconds, the display will say “on” and you’ll hear a series of beeps. The pot is beginning its heating cycle. Once it comes to pressure, the float valve will pop up, sealing the steam and pressure inside the pot. The display will begin to count down the pressure cooking time you set in step 5.
- When the cooking cycle is finished, you’ll hear several beeps and the IP will automatically switch to “keep warm.”
- Perform a quick release of the pressure by turning the sealing valve to the “Venting” position (see below for information on QR). When the float valve pin drops, it will be safe to remove the lid.
- That’s it! You have successfully completed the water test.
Going beyond pressure cooking
In addition to pressure cooking, you can also use your Instant Pot to sauté, slow cook, and steam. Use it to make perfect hard-boiled eggs or homemade yogurt. It can even "bake" bread and turn out a perfect cheesecake!
SAUTÉ
To sauté, brown foods, or boil liquids, use the “sauté” function. The heating element underneath the pot will turn on and heat your pot from the bottom. This is very much the same way a burner on a stove works.
When using the sauté function, the display will show 30 minutes on the timer and count down. After 30 minutes, the pot will shut itself off automatically.
CANCEL
To turn off the pot, whether it is in pressure cooker, sauté, steam, or any other mode, press the “Cancel” button.
STEAM AND SLOW COOK
The “steam” and “slow cook” functions work similarly to the pressure cooking function. The difference is that you will leave the sealing valve in the “venting” position. These cooking methods don’t require pressure, so the vent needs to stay open.
WHAT’S THE DIFFERENCE BETWEEN NATURAL RELEASE AND QUICK RELEASE?
There are two different methods for releasing pressure after the cooking cycle finishes. They are “Natural Release” (NR) and “Quick Release” (QR).
NATURAL RELEASE
Use a natural release for foamy, thick, or fatty foods, or for large pieces of meat.
Natural release means that you leave the valve in the sealing position after the cooking cycle completes. This results in the pressure releasing naturally over time.
It can take anywhere from 10 to 40 minutes for pressure to release naturally. The release time depends on how much food and/or liquid is in the pot.
NOTE: It is important to keep in mind that food inside the pot continues to cook during a natural release.
After the pressure has dissipated, the float valve will drop on its own. At this point, it is safe to open the pot.
Common applications for a natural release include:
- Foamy foods like grains (oats and farro)
- Dry beans (legumes)
- Thick soups such as chili
- Stews
- Other foods that are very thick or fatty.
Releasing pressure slowly can prevent a big mess. Natural release is also recommended for large cuts of meat. The slower cooling process allows the meat to rest. As a result, the meat will be extra tender and juicy.
QUICK RELEASE
Use the quick release function when you make quick-cooking foods.
Quick Release is when you turn or press the pressure release valve to the venting position as soon as the pressure cooking cycle finishes. When you do this, steam will forcefully shoot out of the valve very quickly.
As a result, it is important to use caution to avoid injuries. Always turn the vent away from you before opening it. Also, keep hands and faces away from the valve.
After the steam escapes, the float valve will drop to let you know that it is safe to remove the lid.
Quick release is commonly used when cooking delicate foods that don’t take long to cook. It is best for foods that are likely to overcook during a natural release. This includes most vegetables, fish, eggs, pasta, and some desserts.
Ready for more? Check out these 10 must-have Instant Pot accessories!



Leave a Reply